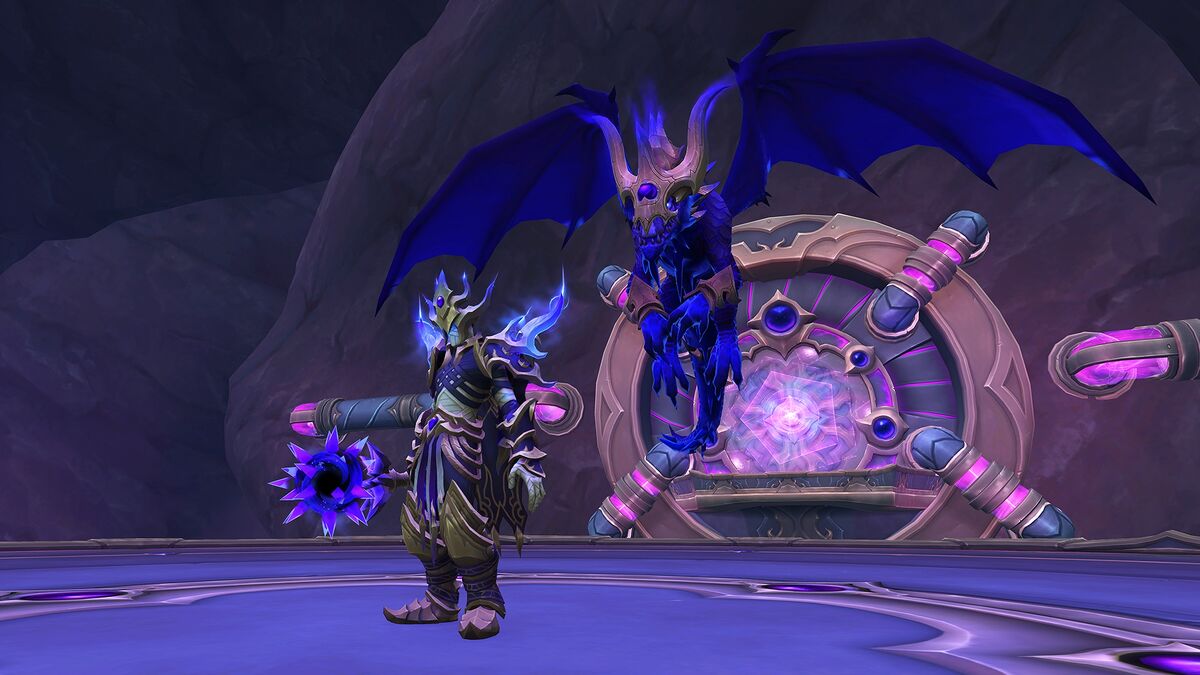
Salhadaar
“Once the ruler of K’aresh and sworn to defeat Dimensius, Nexus-King Salhadaar reveals that he formed a pact with the very being that shattered his homeworld. Atop his Royal Voidwing, Salhadaar commands the Shadowguard to ensure the return of his master, Dimensius.”
Resources
Mechanics
Phase 1
Oathbound
Each player starts with three stacks of this. Raiders have to jump into three circles during the main combo of this phase to clear them.
Heroic
Important
Cosmic Rip
Some players are assigned lines that need to be taken out of mid. After the mean dragon swipes at them, permanent lines are left on the floor that need to be avoided.
Area Denial
Conquer
One half of the main combo of Phase 1. The active tank has a circle placed around them. Any player in the circle drops a stack of Oathbound and is knocked into the air. In addition, leaves you with a debuff that makes you take more damage from the next Conquer.
Important
Tank
Soak
Knockup
Besiege
The dragon does strafing runs across the middle of the platform, dealing damage to anyone hit. Dodge these purple dodgeballs.
Deadly
Dodge
Vanquish
The other half of the signature combo in Phase 1. Big frontal cone faced at the active tank. Leaves a debuff to increase damage from the next Vanquish.
Tank
Frontal
Phase 2
02:00
Coalesce Voidwing
As Phase 2 begins, Salhadaar summons his voidwing to the main platform. If you stand in the soup he’s making, you’re gonna have a bad time. Once his cast finishes, everyone is knocked back.
Knockback
Deadly
Netherbreaker
Salhadaar targets four (could depend on raid size) players with BIG circles. Take them to the edge of the room to fall off naturally.
Spread
Area Denial
Dimension Breath
Big tank frontal that needs to be faced away from the raid. During this, the dragon images orbiting the room will also activate and spit cutting beams of their own across the platform.
Inter. 1
~02:48 – 03:15 (mid P2)
Split into your assigned team and use your extra action button to go through the portal to your side platform. Once you get there, just AoE blast down the adds (prioritizing the named NPC) and then come back through the portal, again using the extra action button.
Inter. 2
25% Salhadaar health (?)
The boss jumps out of the center and begins slurping the dragon’s life sauce. Boss takes 99% reduced damage, but the dragon takes double. Just dodge lines and do big damage.
Phase 3
~5:00
Starkiller Swing
Salhadaar will target three players with lines that need to be pointed through. Point them through Dark Stars orbiting the encounter space to destroy them.
Galactic Smash
The boss targets seven people with circles around them. These people need to get out of center to drop puddles that will drag the raid toward them. They turn into Dark Stars after a few seconds.
Pull
Spread
Area Denial
Dark Star
Purple spiky balls that orbit around the room and create donut rings of death that continue to increase in size until they’re off the platform. If handled perfectly, there’s always one remaining star from each new set. This creates a soft enrage.
Dodge
Deadly
Enrage
Area Denial
Strategy
TLDR
- Taunt swap after each Conquer/Vanquish cast – face frontal away, soak circle with your team
- You begin the fight with three stacks of Oathbound – must be cleared before intermission – cleared by stacking with for group soak three times (one stack per soak)
- After tank combo players get assigned lines, take them as far away as reasonably possible to keep mid clear
- Look out for beams and don’t get hit by them
- Boss hops on dragon for p2, cleave them down but focus mostly into Salhadaar
- Take huge circles out of the raid
- Face tank frontal away and use a defensive/call for personal to avoid owning the raid – rest of the raid watch the portals to avoid getting hit by beams that come from them
- Split up into your teams and go through portals – AoE down the adds inside
- Boss eats the dragon when we come back and enters p3 – funnel as much damage into the dragon as you can here (saladman takes 99% reduced damage, dragon takes double) while dodging lines
- Taunt swap after Starshattered
- Take Galactic Smash out of the raid – watch out for stars that begin to orbit from the location of these smashes; similar to Ky’veza puddles when they drop then turn into orbiting circles
- Take line (Starkiller Swing) out to the stars orbiting and put the beam through them to destroy them
Pre-Release Content Warning
These guides are best guesses based on available information from PTR boss testing, player speculation, and the in-game dungeon journal. Their accuracy is not guaranteed, but understanding the spirit of the encounters and how their mechanics interact is what’s truly important.
Take what’s said here with a grain of salt and be ready to adapt on raid day.
Oathbound Heroic Change
If you die while under the effects of Oathbound, you instead become mind controlled and must be killed by the raid.
Dimension Breath Heroic Change
Damage done to the tank by the beam is mirrored to the rest of the raid. Invest a defensive so that you don’t force the healers to go to their doctors for blood pressure medication.
Dimension Breath Mythic Change
Damage done to ANY PLAYER by the beam is mirrored to the rest of the raid. Standing in front of the dragon’s mouth if you’re not the tank will dome the entire raid.
Starkiller Swing Mythic Change
Two beams must be pointed through the same Dark Star to destroy it. If only one is pointed through a star, it will just reverse direction and cause major headaches (and probably death).


